3D Printed Phone Stand
Grant Freeman, Benjamin Lane
ME 514, University of Wisconsin-Madison, USA
Abstract
When deciding which avenue to pursue for our final project we knew we wanted to affect as many people as possible. Heading in that direction we came to the conclusion that almost everyone today carries around a cellphone. Continuing down this road we were then able to settle on a 3D printed phone stand. Upon researching currently available products we noticed some issues. Firstly, most current phone stands are single faceted, meaning they can only be used in the car, or on a desk, etc. We also noted from previous experience that many models which were affordable were poorly made and broke easily. On the other side the products which would last were costly due to manufacturing methods and brand name. Finally, the lack of customization became apparent. It was almost impossible to find a specific color or a certain design you wanted. Using this as a starting point we were able to motivate the creation of our first design for a 3D printable phone stand.
Initial Ideas
For our first design we knew we had a few criteria we wanted to fulfill. Firstly, we wanted to enable both vertical and horizontal placement of the phone while still securing it in a safe manner. Secondly, we wished for the phone stand to be multipurpose. This means we set the goals of the design to be utilized in both a vehicle and desktop setting. Further options were brought up to be explored later on such as hooks and magnets however, these were the pivotal two for the scope of the project. We also wanted the print to be both lightweight and durable while maintaining as low a cost as possible. For this reason we decided to choose FDM, specifically PLA, for our design. By choosing this we also allowed for easy customization of the parts color simply by switching between filaments. Using these design criteria we set out on our first iteration of our phone stand.
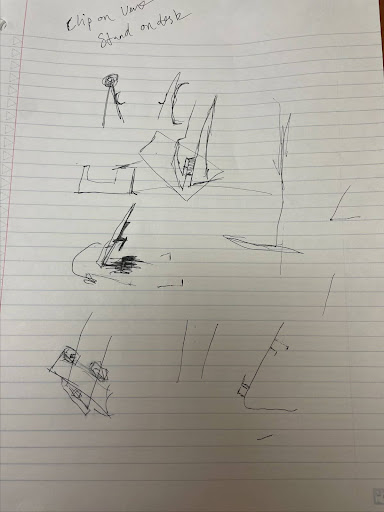
Image 1. Initial sketches of the concept
First Iteration
Design Process
Implementing our initial ideas, we began designing the first iteration of the phone stand. For our first iteration we simply designed the stand as a traditional table phone stand in order to start with the basics and let us implement the more versatile uses later on. As seen in image 2, the initial design features a phone stand with a sturdy base, a shelf on the front for the phone to sit, a face for the phone to rest back on and two pegs to hold the phone on the stand in either a vertical or horizontal orientation.
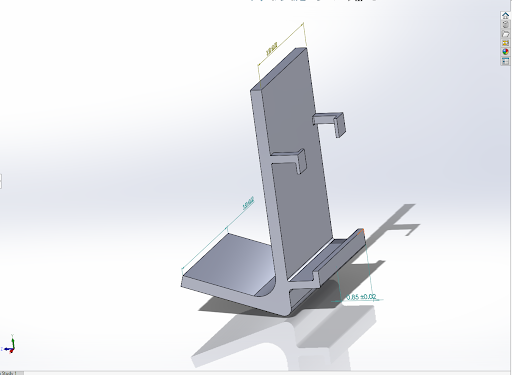
Image 2. CAD Design of Initial Iteration
Problems
Due to this being the first design, this iteration came with many problems, the first of which being the supports in 3D printing. Due to the pegs coming out the face of the stand, we did not want to print the stand in the standard upright orientation as that would leave supports coming up from the shelf to support the pegs which would be very hard to remove without breaking the pegs. Similarly, this issue would occur printing the stand on its side as the supports would have to be printed between the two pegs. Due to this, we decided to print the piece on its front as seen in image 3 with the supports under the entire face of the piece.

Image 3. Support orientation for first iteration
The printed result of the first iteration with supports is shown in image 4.
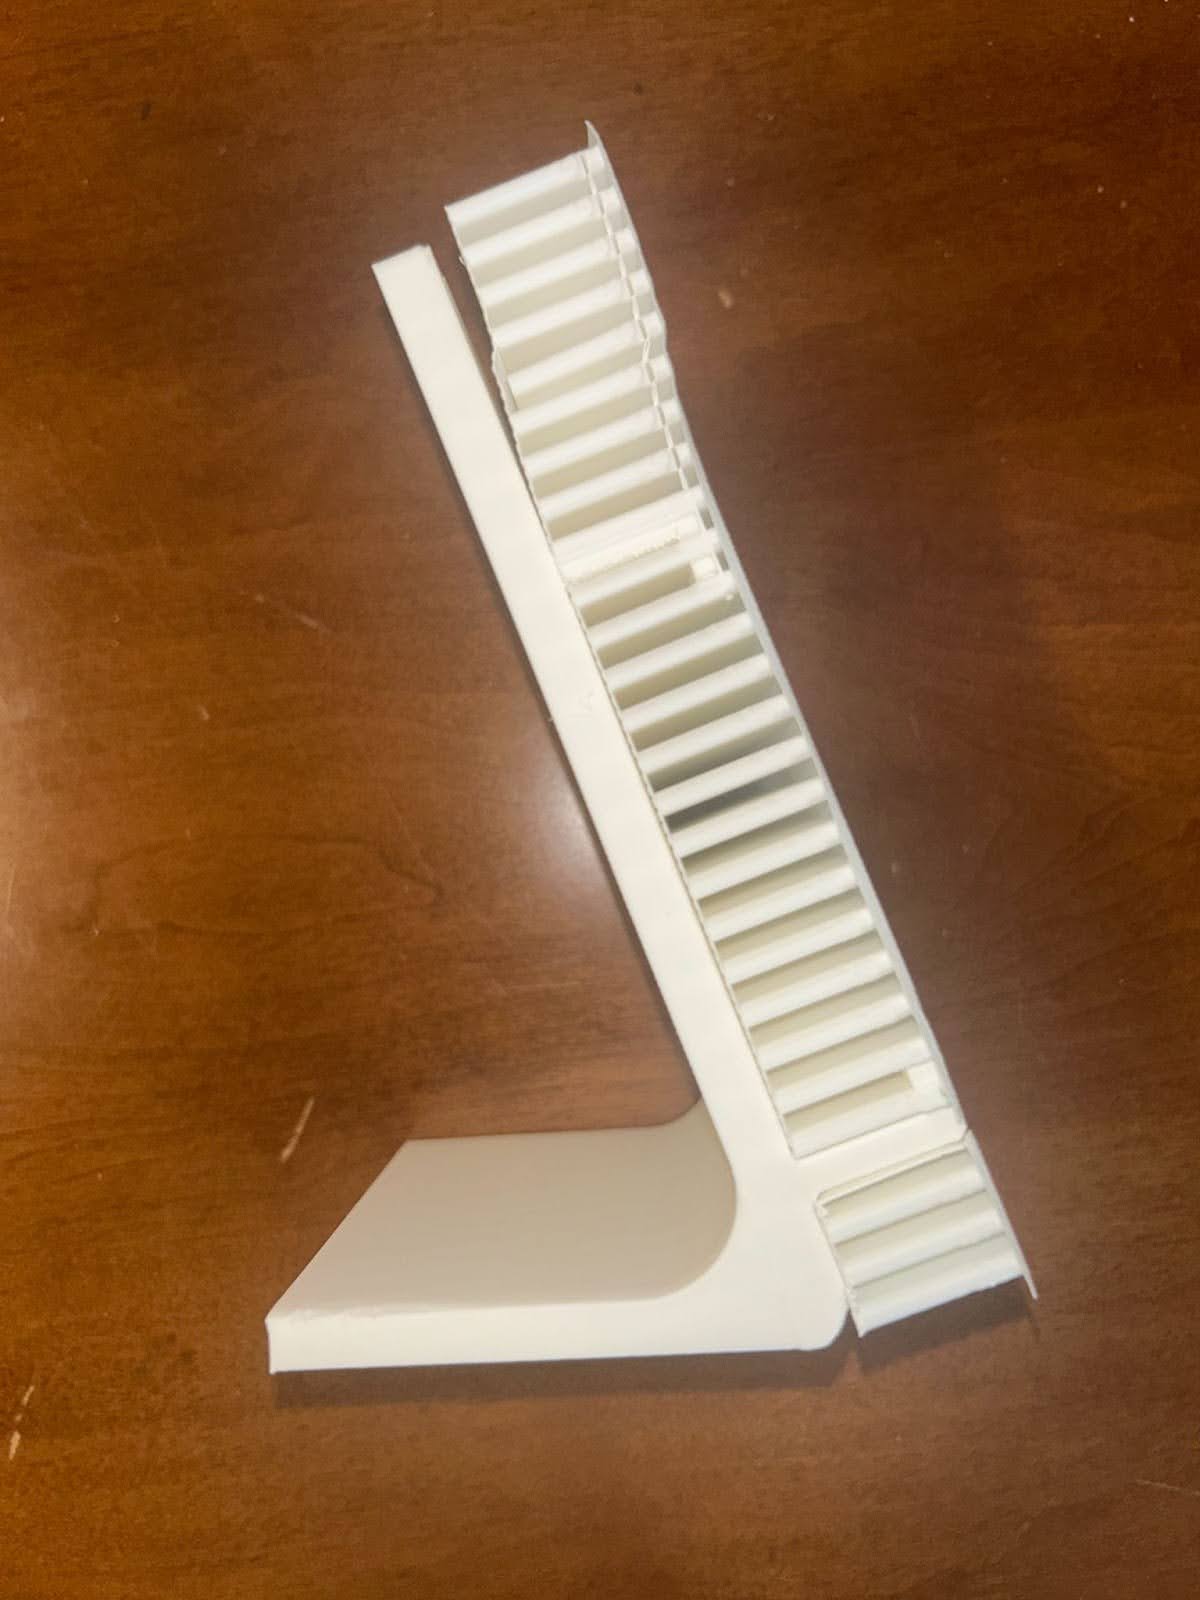
Image 4. Printed result of first iteration
While thinking this printing orientation would allow the supports to be easily removed, in image 4 we can see the support on the front face was impossible to remove without also ripping out the pegs, facing the same problem we feared with the other orientations. Additionally, the supports on the front face of the stand left the face to have a rough and unappealing finish, which is not ideal for the front face of the part. Finally, the last problem with our first iteration is it left no other uses for the phone stand other then on a desk. These problems left further considerations in future iterations.
Current/Final Iteration
After our first iteration, we further developed our part with a second — and our final– iteration shown below.
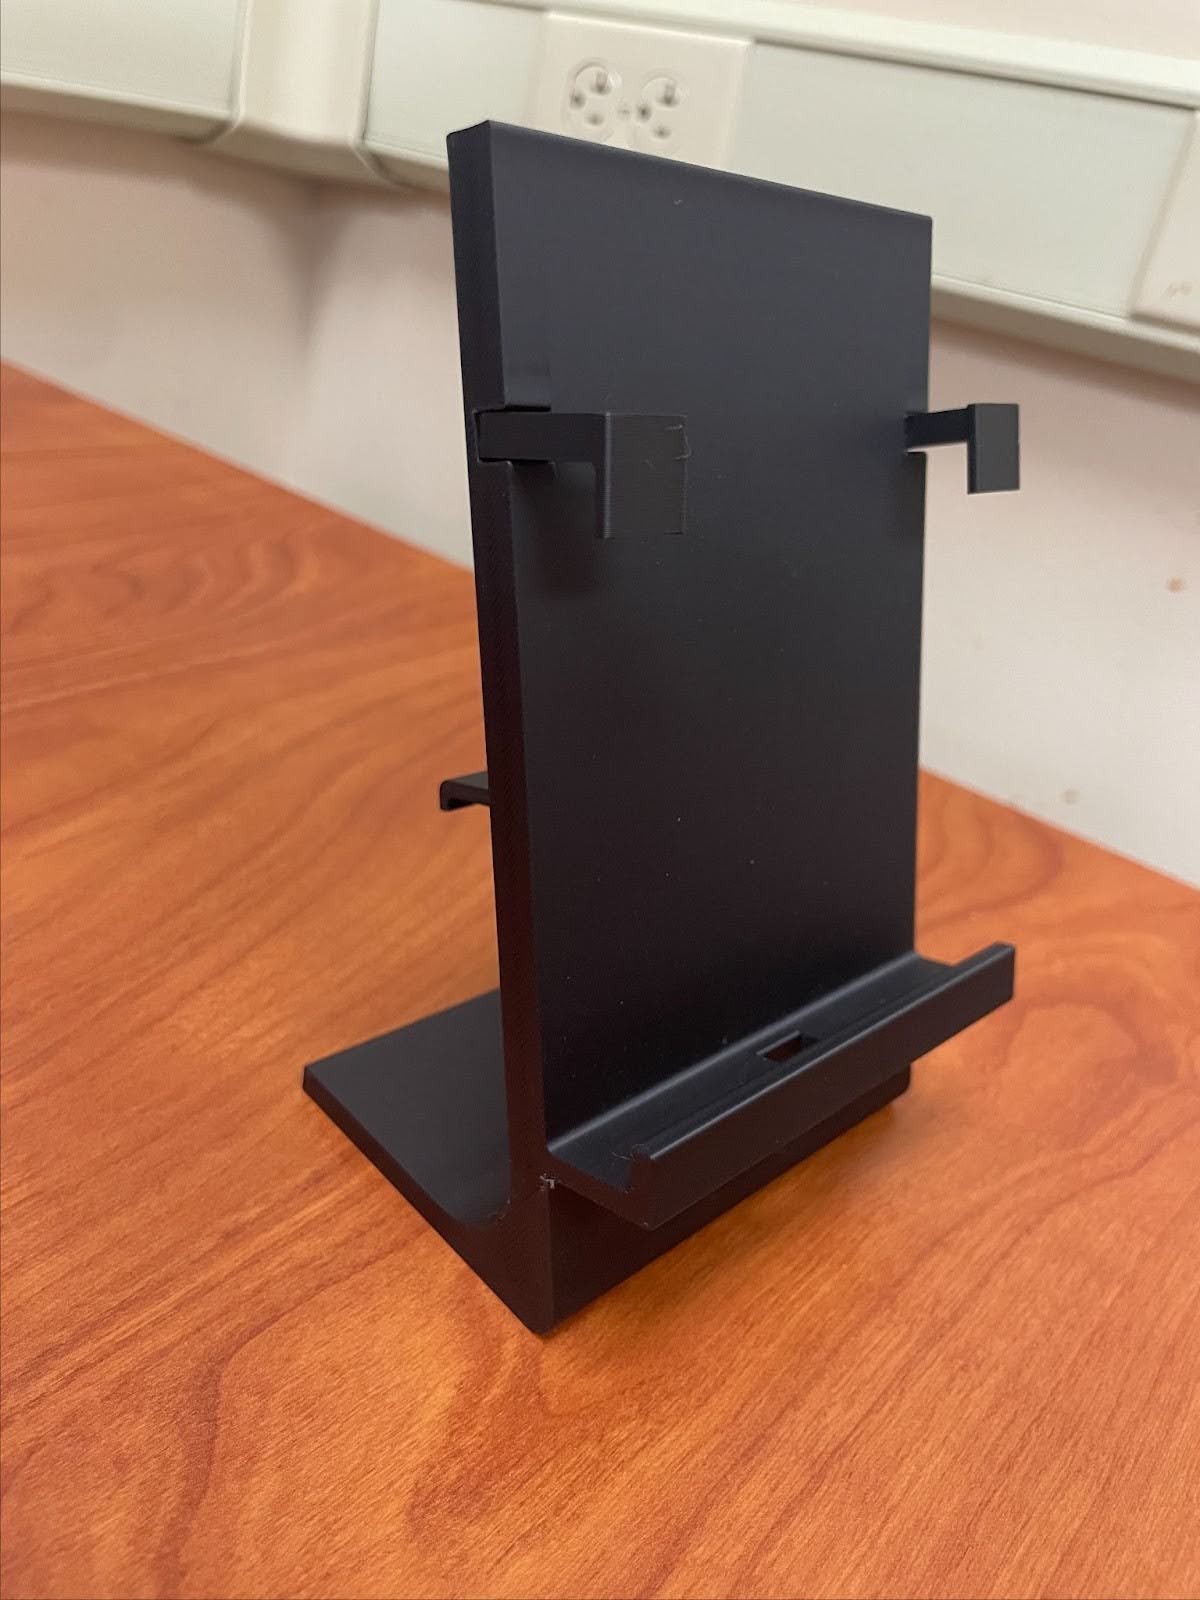
Image 5. Final iteration
The primary concern with our first iteration was the lack of versatility of use in the stand. Our goal for this project was to create a multi faceted stand that could be used in many different situations which was not achieved in the first iteration. This being said, with the second iteration we sought to incorporate a method for the stand to be attached into a car vent, thus allowing it to be additionally used in a car.
When considering options for how to attach our stand to a car, we first considered a clip on the bottom of the stand which could clip onto the car vent. This solution however brought up some issues in the difficulty of 3D printing a clipping mechanism. This being said we came up with an alternative solution to attach the phone to a vent: the fin and hook solution. This solution incorporates a fin sticking out the back of the phone stand with a small hook at the end of it pointing down, as shown in image 6, which gives a view of the back of the stand.
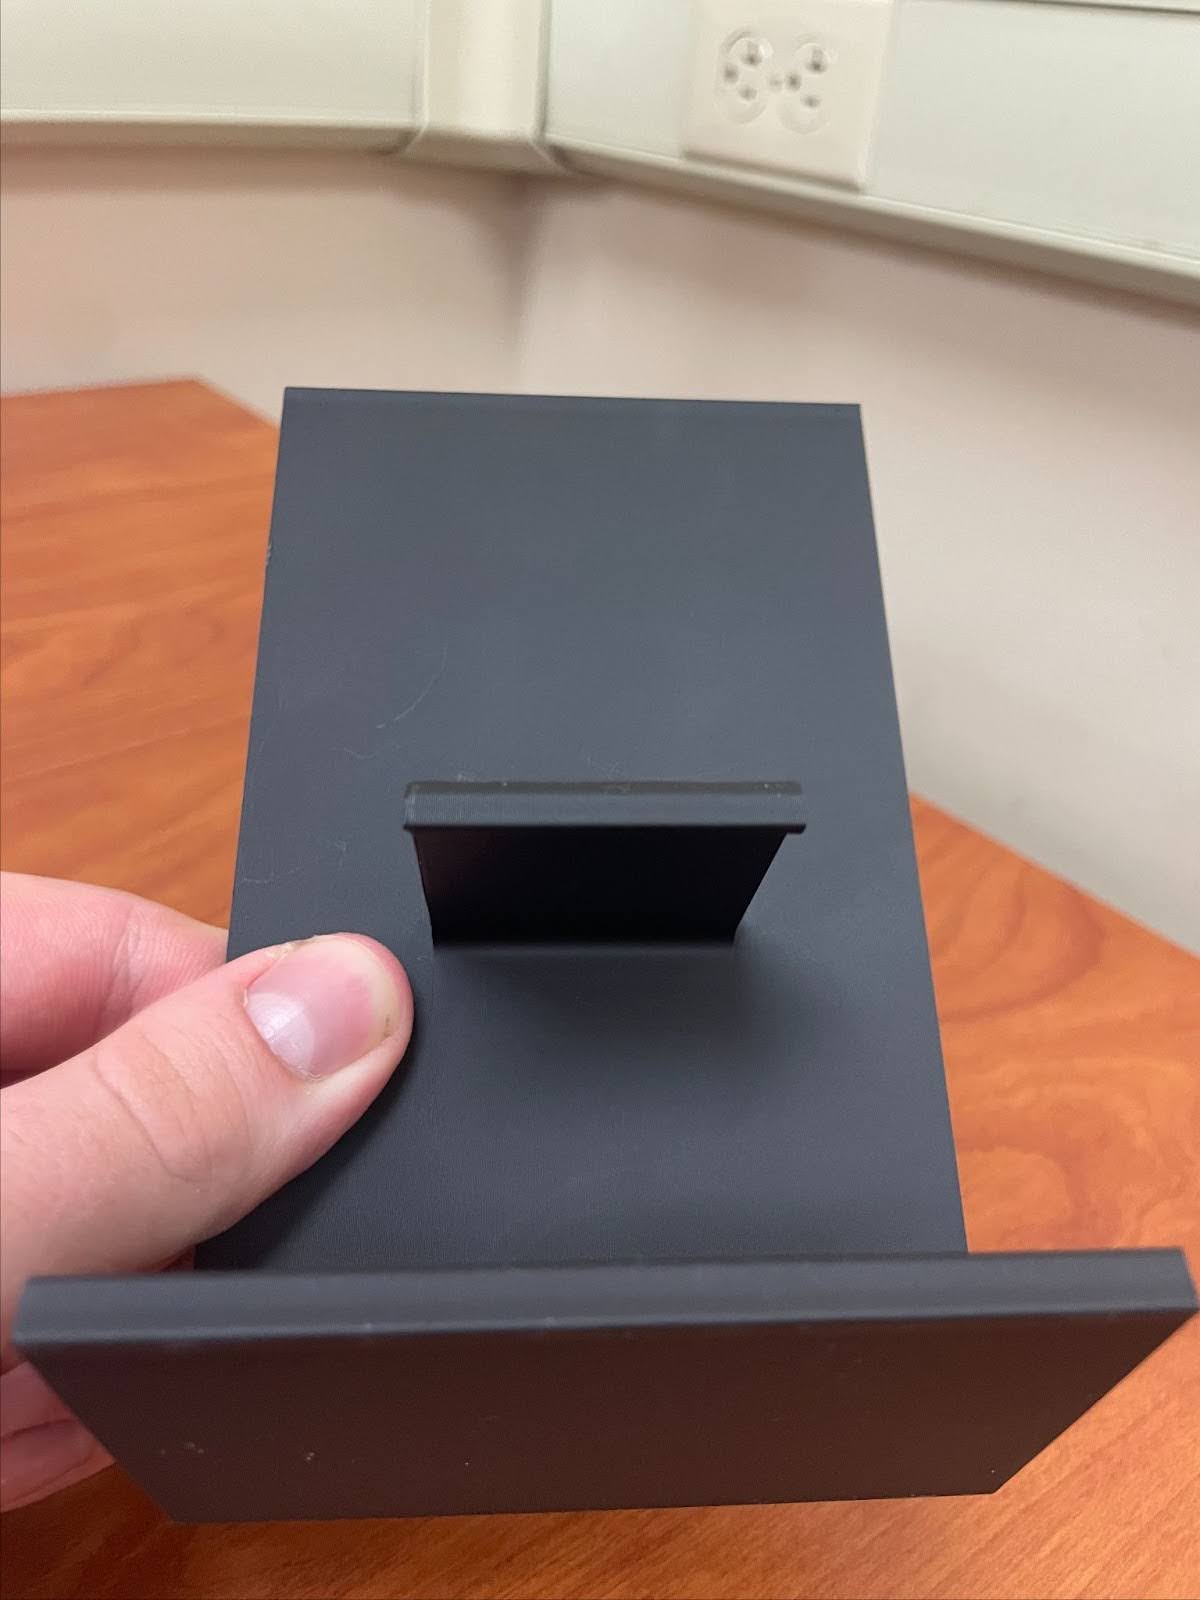
Image 6. Back of final iteration
The fin can also be seen sticking out behind the back of the phone stand in image 5. For use connecting to a car vent, the fin and the bottom of the stand can slide into the vent and then the hook on the fin can hook on to the back of the vent and thus hold the stand in place. This solution allows for a simple and seamless method to mount the stand in a car.
In addition to adding the fin to allow the stand to mount to a car vent, we also made other changes to this iteration. First, we thinned the base of the stand which will allow it to slide into a vent easier allowing for the stand to mount in the car better. Second, we added a hole on the bottom shelf where the phone sits for a phone charger to fit in so users can charge their phone while its on the stand and raised the height of the shelf on the stand to allow for a charger to fit easily while the phone is charging. Finally, we printed the pegs that hold the phone in place separately which solved our support problem from the first iteration and allowed for a much easier printing process. Image 7 shows the new printing orientation in which the pegs are printed separately allowing us to print the stand with only one small section of supports under the fin that are easily removed. Not requiring supports on the front face of the phone stand also allowed for the face to have a smooth and well printed surface.
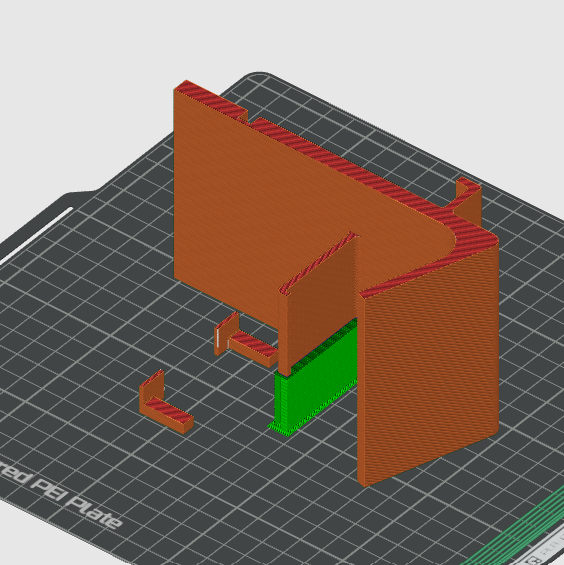
Image 7. Support orientation for second iteration
One drawback to printing the pegs separately is that now they must be attached to the stand separately. To do this we superglued them into the body of the stand. These adjustments made in the second iteration helped to create a much better and more effective part.
Results/Future Plans
While our second prototype was greatly improved, there are still possible improvements to be made on the design going forward. First, in the second iteration the tight placement of the support pegs rubs against the protruded sound buttons on an iphone creating too tight of a fit. Adjusting the pegs to better fit an iphone and other popular phones would greatly improve the design and cost if able to be printed on the part as a whole. Second, our design is still relatively robust and thus doing a topology optimization on the stand could lead to a more trim and concise part. Finally and most importantly, our second iteration only includes two methods of use, on a table and in a car. Adding a third method of use such as a magnet so the stand can be used on a metal surface would greatly improve the functionality of the stand.
Conclusion
At the beginning of the project we set out to build an affordable yet sturdy 3D printed phone stand for people who use their smartphones in a variety of places. This would carve a piece of the market away from less versatile and poorly made products. After establishing a set of design criteria such as phone rotation, multi-use, and durability, we began our first iteration of the product. Although our first design was functional we found a number of ways in which we could improve both the CAD and the way printed the product. We started by thinning sides of the main stand. We then raised the holding tray and added a hole for a phone charger. Finally, we decided to print the holding pegs separately to reduce damage to the part due to the use of supports. This also directly reduced the amount of material needed to print the part and thus the cost also decreased. Despite making these improvements there are still areas which we would pursue if given more time. Initially we would run a topology optimization using FEA in order to provide a more sleek part for printing while also reducing the amount of product needed. We would also redesign the pegs to prevent blocking the sound buttons while in vertical configuration. One goal of the new pegs would be designing them in a way as to allow a seamless print of the total piece removing any need for assembly. Finally, we would also try and add another way as to which the stand could be used such as another hook on the top or perhaps even a magnet on the back side. Despite this, by the end of the project we had a design which printed smoothly and fulfilled all of our initial design criteria ready to be used by a wide range of clientele.