By: Jack Fahy, Gunnar Maples, Evan Ogren
Explanation:
Tap handles are a vital component in a beverage’s branding. Owner of the local brewery Working Draft Ryan Browne called them a “mini-billboard” to the consumer. However, there is a hurdle to this point-of-purchase advertisement: cost. Kelsey Cooper, a project manager at Taphandles in Seattle, WA, estimates that the unit price for small (less than 100) batches of handles can reach over $30 per handle. The ME 514 team found a local cider maker, owner of Hidden Cave Cidery Walker Fanning, who needs a tap handle for his opening tap room in Middleton, WI. Specifically, he needs a tap handle for his barrel aged ciders.
Walker and the team will design a tap handle for the new tap room using the brand of the barrel aged ciders. Leveraging the versatility of additive manufacturing allows for rapid design iteration, cost minimization for low product volume, and short concept to tap room time scales. The end product will be a custom, tested, and artistic tap handle that Walker can use.
This project meets the requirements of this course by requiring the optimization of material use. Material is needed for a product to survive repeated loading and sanding for a paintable surface finish. However, the amount of material must be reduced to minimize cost, environmental impact, and print time. The challenge of this project will be to balance all of these components.
Preliminary Designs and Constraints:
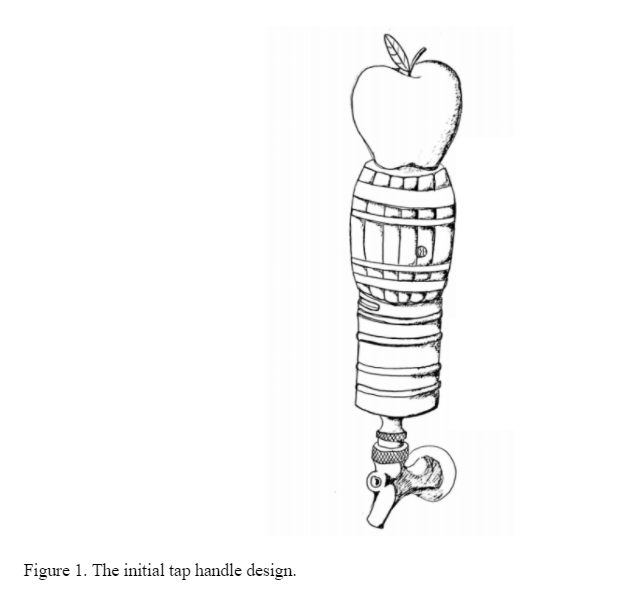
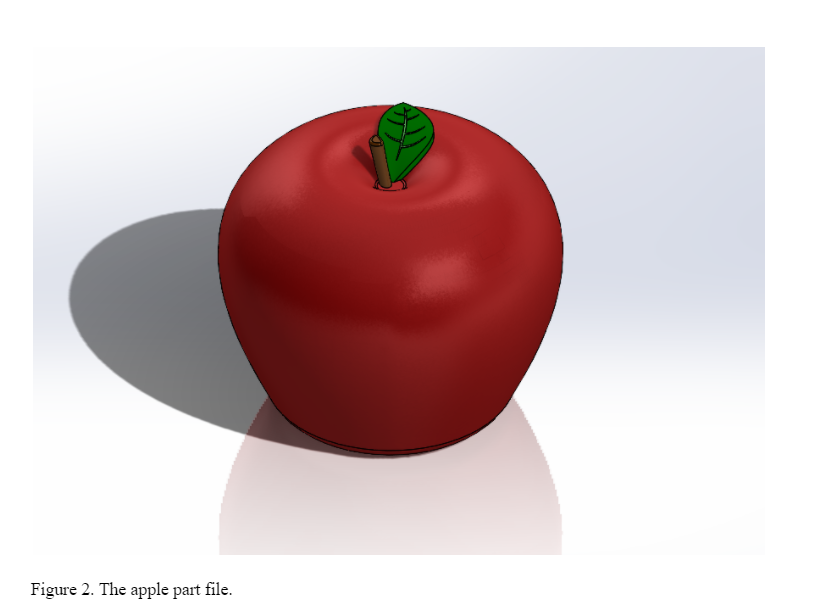
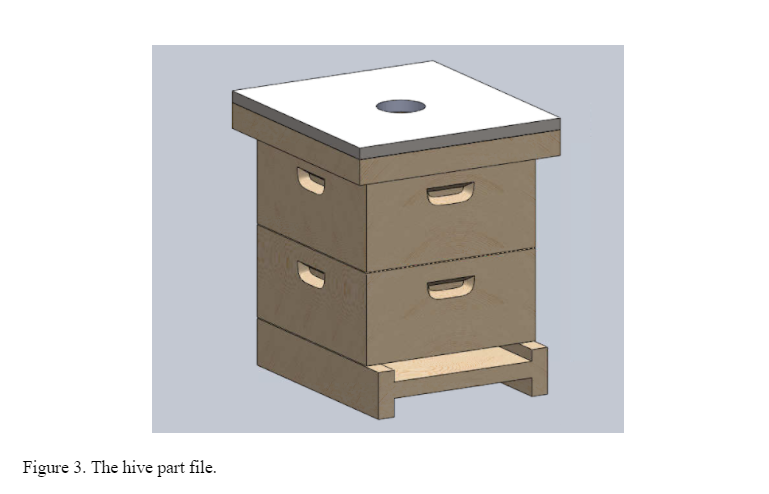
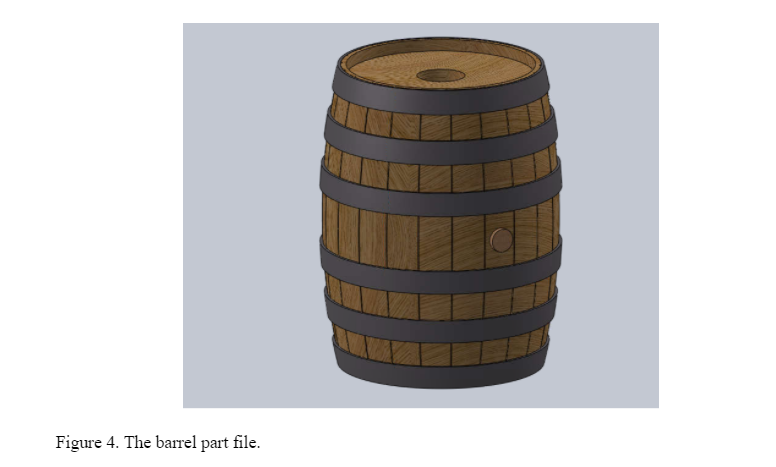
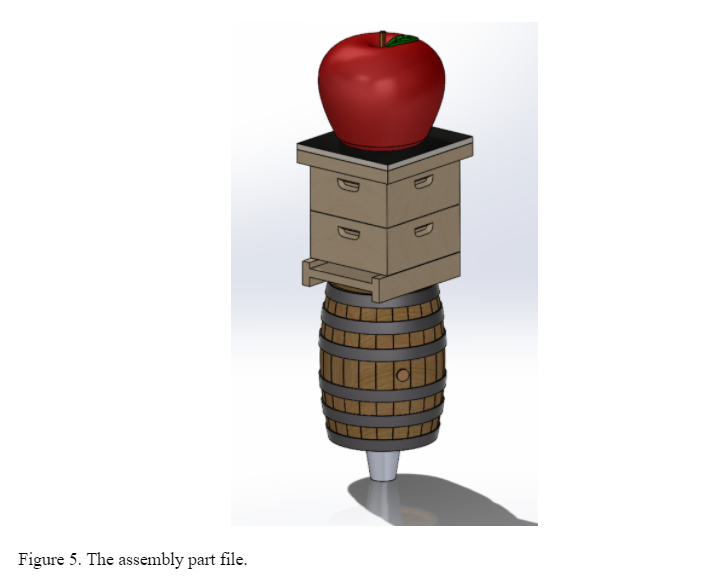
Meeting with Walker and brainstorming ideas has generated our initial design: a stack of three fundamental symbols: the apple, the Langstroth beehive, and the whiskey barrel seen in Figure 1. The apple and hive symbols are essential because while a cidery owner, Walker is also an Orchard Manager at Eplegaarden in Fitchburg, WI. He respects local agriculture and therefore uses locally sourced apples and honey. The barrel is significant as he is partnered with Old Sugar Distillery in Madison, WI where he gets the barrels for aging. The part files for the three symbols and core are included in Figures 2-5.
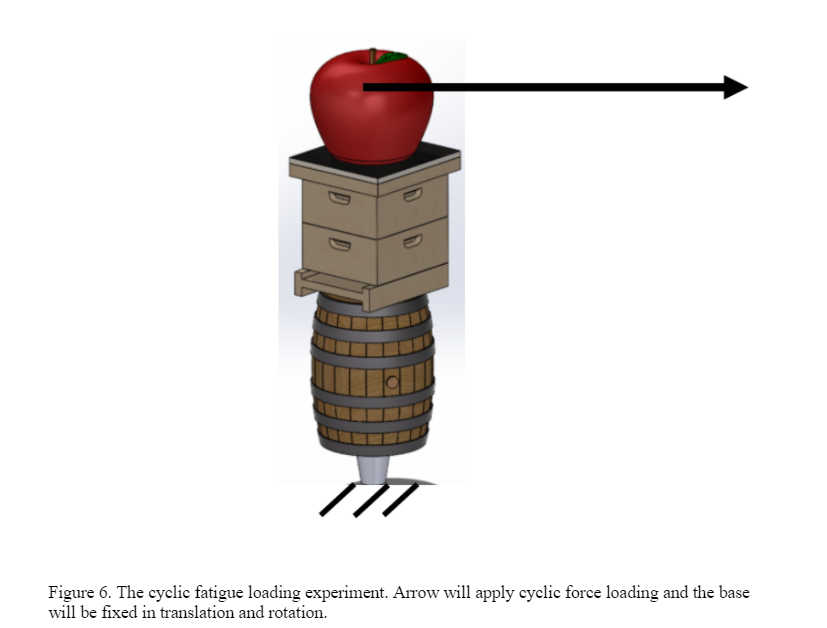
The materials and printers available cannot alone survivethe requirements for industrial use with slim design. Dave Kaplan, the vice-president of engineering at Taphandles, tests his tap handles with 20lbs of force perpendicular to the column’s axis to create bending stresses. The column of a tap handle is the vertical volume of material that is grabbed and pulled. If 50 cycles of the force application features no deformation or breakage, then the design is ready for use in industry. The team will use this test to prepare the design for use. To ensure the printed tap handle can survive the bending stresses, an aluminum core will be inserted through the column. The bottom of the core will have female ?-16 threads, the industry standard, to fasten the handle to the tap. This core will be turned and tapped from aluminum on a lathe in the TEAM Lab. Dave also recommends a 3” diameter for the column to provide room for other tap handles.
Experiments and Simulations:
The first step is simulating the force of grabbing the handle to understand the compressive forces on the polymer parts. They must survive repeated grasp and pull pressures that result from pull down. Simulation will be performed on SolidWorks or .STL files that feature the fill design of the material. The simulation results will help the team decide what fill ratios to use, what layer thicknesses are needed, and what feature size is sustainable.
The second step is experimentally testing the core and stacked polymer parts to ensure they meet the industry standards. The tap handle prototype will be fixed by a vice or threaded to a plate and pulled with a scale to apply 20lbs of force 50 times or until failure (whichever comes first). If any failure occurs, investigation and design improvements are necessary. An experimental schematic is drawn in Figure 6.